Smartphones are great devices, for work and for entertainment. The only drawback that smartphones have is that their screens are quite small. To watch on a bigger screen, you have to connect it to your TV screen or buy a projector which is an expensive option. You can easily make it at home and enjoy watching your favourite videos on your very own, handmade projector screen. Here are some ideas for DIY smartphone projector with and without magnifying glass:
DIY smartphone projector ideas with magnifying glass
Idea 1
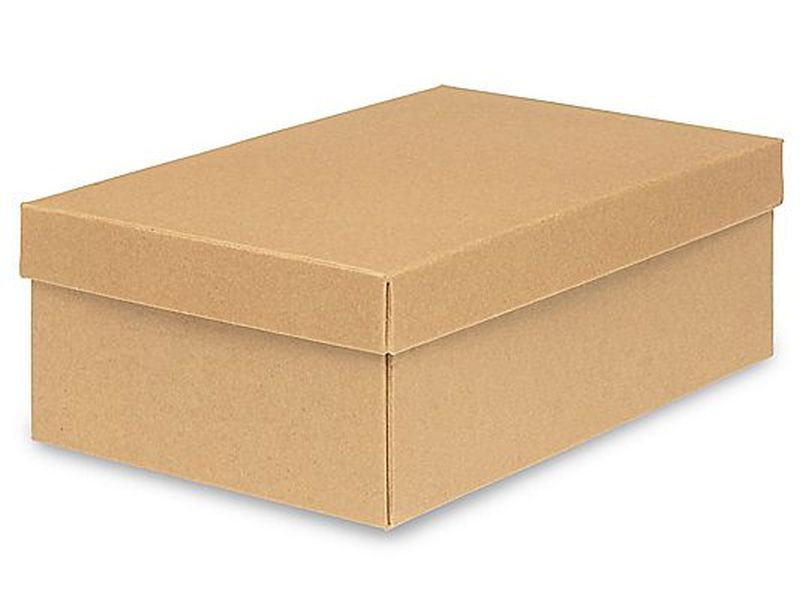 This is one of the really easy ideas for a projector; you can make it at home and convert a humble shoe box into a home projector. It will not be high-res, but it will give you a larger image, without spending much money. Here’s how you can DIY smartphone projector without magnifying glass:
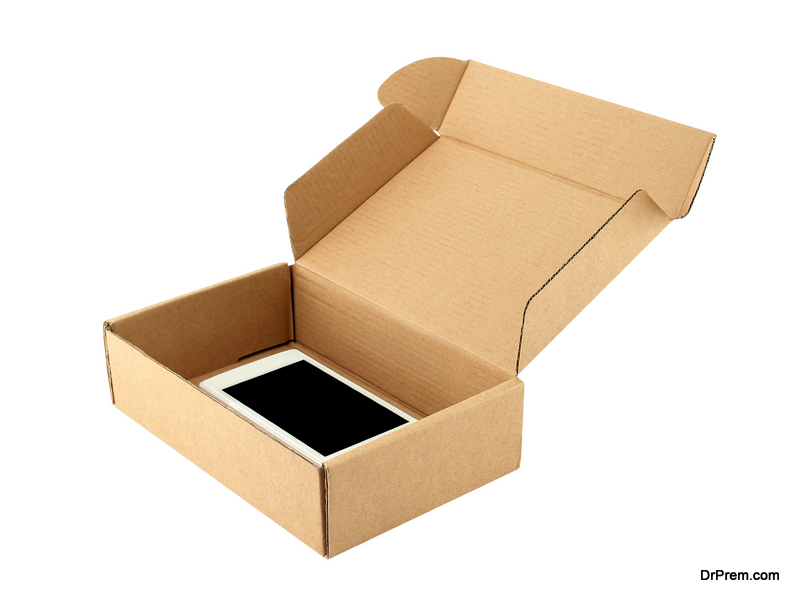
For this homemade shoebox projector, you will need first and foremost an iPhone. The other things which you will need are:
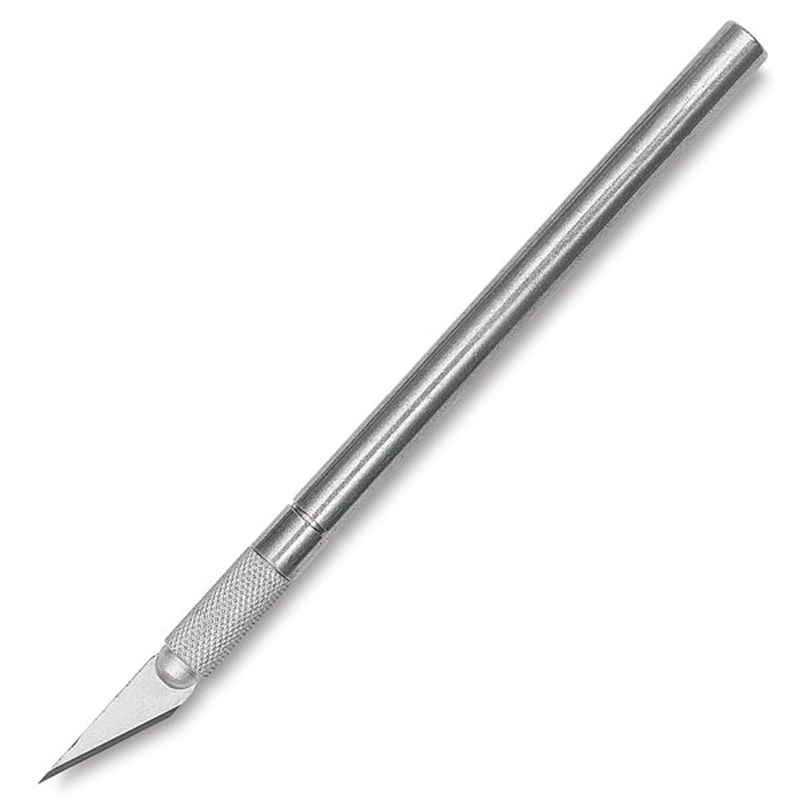
Materials: Shoe box, magnifying glass, paperclip, exacto knife, smartphone, duct tape, black paint, and Smartphone stand.
How to make it: After you have collected all the materials, you can start to assemble the DIY smartphone projector.
Step 1
First, paint the inside of the box with the black paint. You can choose not to paint it also, but painting it will enhance the quality of the projected image.
Step 2
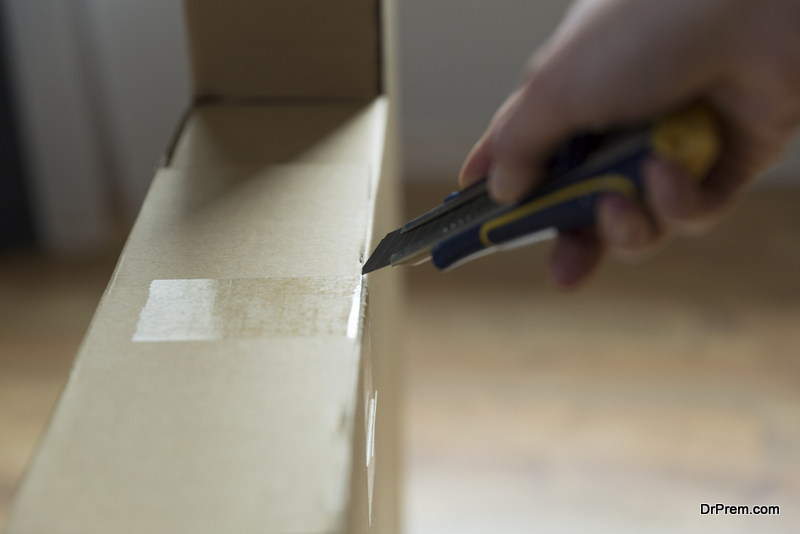
 Then, find the center on one side of the box. Use the magnifying glass and trace one circle around the central point on the box. Using exacto knife cut out a hole around the circle which you traced.
Step 3
Insert the magnifying glass inside the shoebox, and tape it to the side of your shoebox, making sure that it is a tight fit and no light can leak out. You should tape the handle of the magnifying glass to the sides also, to keep it in place.
Step 4
 Make a hole on the shoebox’s other side, so that a cable can pass through it, to enable the smartphone to be charged.
Step 5
With a smartphone stand or with a paperclip, prop up the stand and put it into the shoebox.
Step 6
Now, when you switch on the smartphone, you will see an upside down image. To correct this, you have to flip the screen, so that your shoebox projector will work properly. This is easy with iPhones, as you just have to go to the Settings, then General and Accessibility. From Accessibility, turn on Assistive Touch, then Device and then Rotate Screen.
For Android phones, you can download apps like Screen Rotation Control and Ultimate Rotation Control.
Step 7
Now, it’s time to test your DIY smartphone projector. Dim all the lights in the room, in order to see the projection on the walls. Move the phone close and further from the magnifying glass so that you can determine the best place to keep it, and you get a clear projection.
Step 8
After you have found the right place, close the box.
Sit down, relax and enjoy your very own, DIY projector. It won’t be a great quality, but still it will be good enough!
Smartphone Projector without magnifying glass
This idea is also quite simple enough and you can make it at home quickly. We found the idea ingenious and brilliant. It can be carried around too, once you make it. It does not require magnifying glass as most DIY smartphone projector ideas do. And you can make it in just 15 minutes.
Materials: Cardboard, scissors, packing tape, smartphone and, most important, light bulb.
How to make it:
Step 1
Cut twp pieces of cardboard into a shape which have to form an open triangle. That is, one end has to be small and the other as big as your smartphone screen.
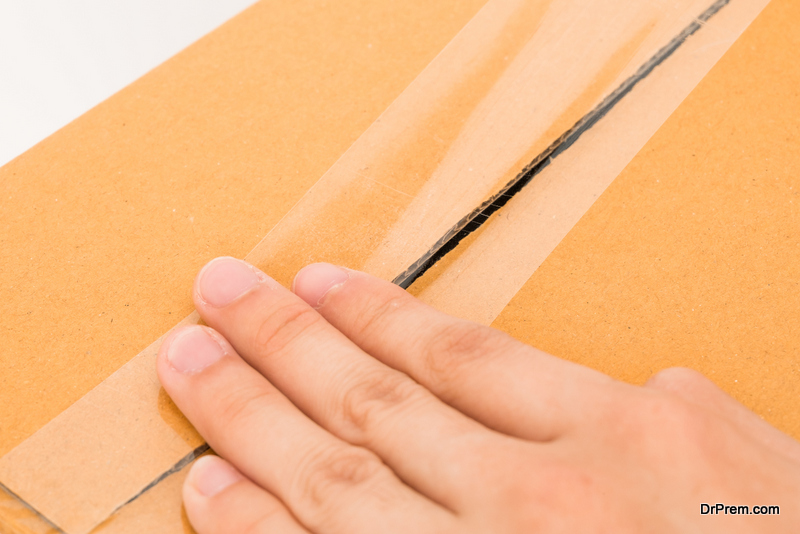
Step 2
Now, with the packing tape, join both pieces to form the triangle.
Step 3
Cut some more cardboard so that it can function as a stand for the smartphone.
Step 4
Keeping a gap, you have to attach this to the triangle. Make sure that there is a gap between the two, so that you can slide your phone inside the gap.
Step 5
At top of the smaller end, cut a small semi-circle, so that the light bulb can be slid inside.
Step 6
 Slide in the light bulb and tape it securely.
Step 7
Dim the lights and after sliding in the smartphone, play your video. The image will come through the light bulb and you will be able to see the enlarged video projected on a wall, with your DIY smartphone projector.
If you want to watch your favourite videos on a bigger screen, then these makeshift projectors will be able to help you do that. You can make the projectors spending hardly any money and time.